
Choosing a Hall effect sensor looks easy on paper. Pick a package, check the supply voltage, add a magnet, done.
That is how you end up with a product that works nicely on your desk and starts misbehaving in production.
If you want a Hall effect sensor for position sensing that survives tooling variation, assembly drift, weak magnets, enclosure changes, and real users, you need to treat the sensor, magnet, mechanics, and PCB as one system. That is the only useful hall effect sensor selection guide.
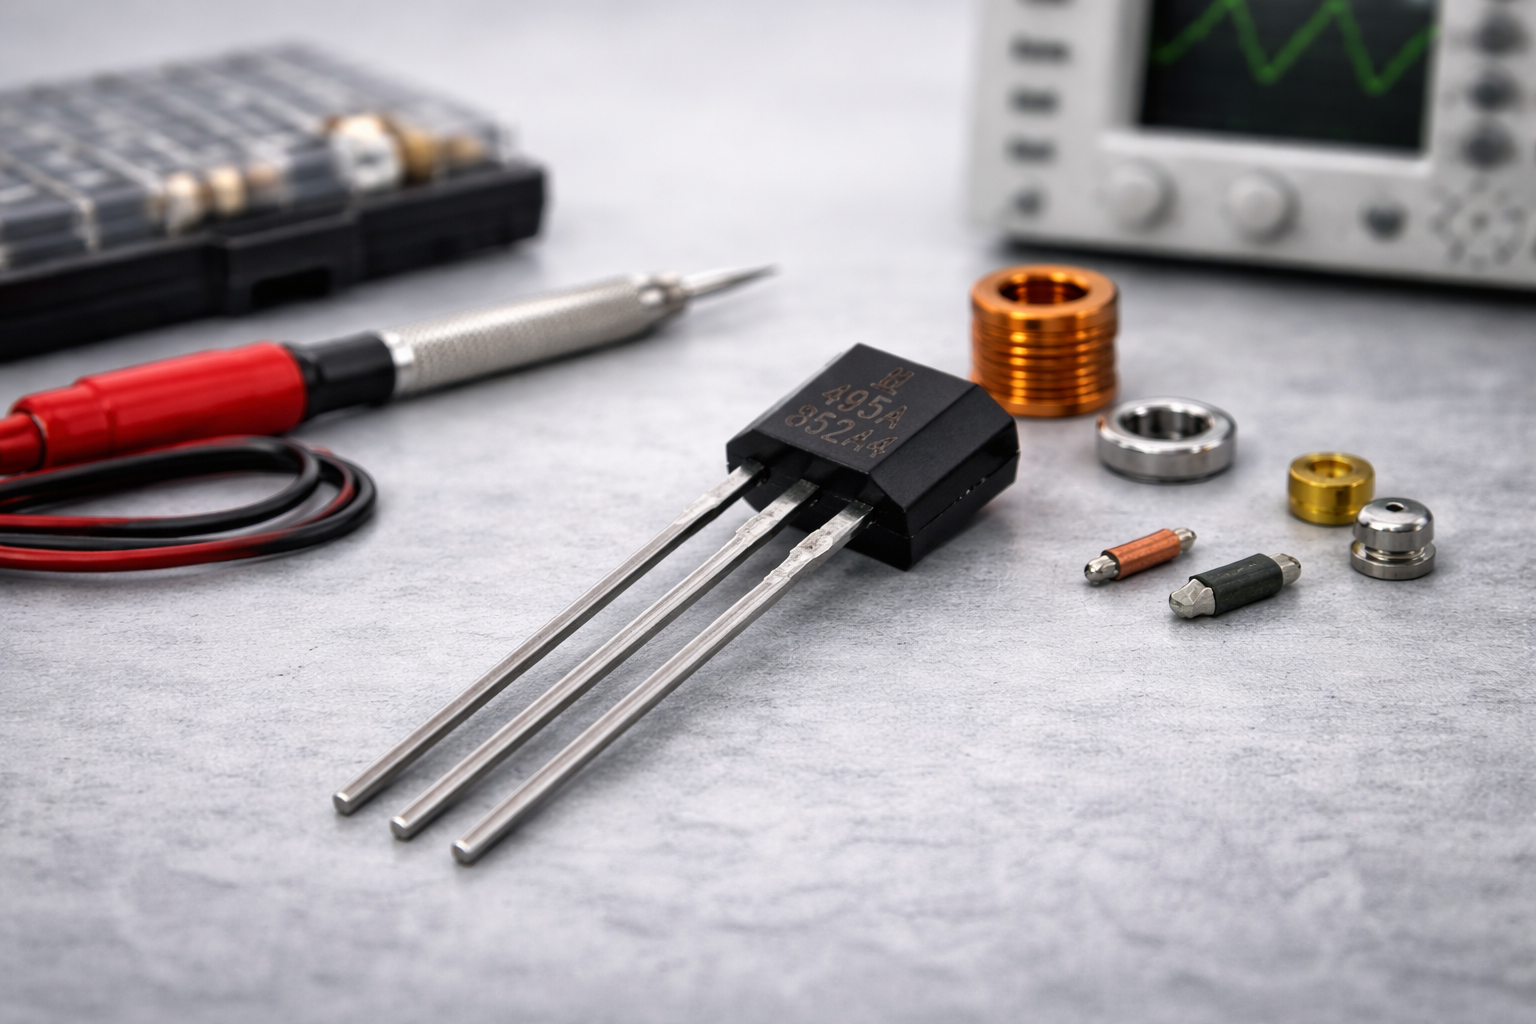
Hall devices are popular because they are contactless, compact, and cheap in volume. They work well in lids, wearables, appliance doors, rotary selectors, tamper detection, motor commutation, and many other hall effect sensor applications. But they are not magic. Small changes in magnet distance, polarity, orientation, and material can shift behavior a lot. Magnetic operate and release thresholds can dramatically change the real switching window, which is why a part that looks fine in the datasheet can still behave badly in production.
Start with the job the sensor must actually do
Before you compare parts, define the switching job in plain language.
Do you need to detect open or closed? Count rotation? Confirm latch position? Sense a sliding part? Measure angle? Wake the system only when a cover moves? These are different jobs, and they do not all want the same sensor.
For simple open and close detection, a digital switch is often enough. For alternating magnetic poles in a rotating system, a latch may make more sense. For travel distance or angle, you may need a linear or ratiometric part instead of a simple on off device.
Ask these questions first
• What is the motion?
Linear travel, hinge rotation, end stop detection, or multi position selection all create different magnetic field changes.
• What matters more?
Low cost, low power, tight repeatability, high speed, long sensing distance, or orientation tolerance. You usually do not get all of them at once.
This is where many teams go wrong. They start with hall effect sensor types instead of product behavior. Start from the motion, then work backward.
Pick the right Hall effect sensor type
A lot of bad selection comes from choosing the wrong sensor family.
Common families include unipolar switches, omnipolar switches, latches, and linear devices. Each one behaves differently around pole direction, reset behavior, and signal output.
Common hall effect sensor types
• Unipolar switch
Triggers on one magnetic pole. Good when you control magnet orientation tightly. Cheap and common. Less forgiving if the magnet can flip or rotate during assembly.
• Omnipolar switch
Triggers on either pole. Useful when magnet orientation may vary. Convenient, but easier to trigger by stray magnetic fields if your system is crowded.
• Latch
Changes state with one pole and resets with the opposite pole. Common in rotation sensing and motor related designs. Bad choice for a simple door sensor if your magnet motion never gives the opposite pole event you need.
• Linear or ratiometric Hall sensor
Better for analog position or angle related feedback. More flexible, but usually more work in calibration, ADC handling, filtering, and tolerance control.
For many consumer and industrial products, the first decision is simple. If you only need a clean state change, start with a digital switch. If you need continuous position data, use a linear device only when the product truly benefits from it. Otherwise you are paying for complexity you do not need.
Magnet choice and placement matter more than many sensor datasheets admit
The sensor does not detect distance. It detects magnetic flux density at the die. That is a very different thing.
The real system depends on magnet grade, magnet size, pole orientation, air gap, lateral offset, tilt, nearby metal, enclosure thickness, and the worst case tolerance stack.
Common magnet mistakes
• The magnet is too weak
The prototype passes because somebody used a strong sample magnet from the lab. Production uses a cheaper grade. Now the unit fails at hot temperature or at maximum gap.
• The magnet path is sloppy
A Hall effect sensor for position sensing can be very repeatable, but only if the magnet path is repeatable too. Hinges wobble. Plastic flexes. Adhesives creep. Tall bosses lean after molding.
• The air gap is not controlled
A 0.5 mm change may be trivial in CAD and fatal in hardware.
You should model the whole trigger window, not just the nominal point. Include worst case magnet strength, minimum and maximum sensor thresholds, enclosure tolerances, PCB placement tolerance, and assembly drift.
For practical magnetic design, use field simulation or at least bench mapping early. Helpful technical references from Texas Instruments on magnetic threshold behavior are worth reviewing before you freeze the design.
Watch the ugly failure modes early
Hall sensors are sold as robust, and electrically they often are. The surrounding design is usually the weak point. Mechanical and packaging stress can shift sensor performance over time, especially after overmolding, welding, clamping, gluing, or enclosure compression, which is exactly the sort of thing that never shows up in a clean bench test.
Failure modes that show up in real products
• False triggers
These can come from magnet overshoot, nearby speakers, charging accessories, motor fields, or magnetic clasps in cases and packaging.
• Missed triggers
Usually caused by weak magnets, too much gap, poor alignment, or threshold spread across sensor lots.
• Temperature drift
Magnets weaken with heat. Plastics move. Adhesives soften. Margins disappear.
• Mechanical stress
A sensor that reads fine on a bare board may drift after potting, screw compression, welding, or enclosure snap fit pressure.
• User generated edge cases
A product works with the intended accessory but fails with the aftermarket one that includes a magnet in the wrong place. This happens more often than teams like to admit.
This is one reason a hall effect sensor vs proximity sensor decision should not be made on buzzwords. Hall sensing is excellent when you can control the magnet and the mechanical path. A proximity sensor may be easier when you need metal target detection without adding a magnet, though it comes with its own limits around material sensitivity, range, and environment.
Hall effect sensor PCB design is not just footprint work
Hall effect sensor PCB design often gets treated like any other small digital IC. That is lazy.
The sensor location is part of the mechanical stack. Move it a little, rotate it a little, or put copper and connectors around it carelessly, and you may shift behavior enough to matter.
PCB and enclosure checks that save pain
• Place the sensor from the magnetic center, not from a board edge
Your mechanical datum should be the magnetic target path. Not the prettiest routing path.
• Match the sensor axis to the field axis
This sounds obvious. It still gets missed, especially when teams swap package styles late.
• Avoid late enclosure changes without retesting
Plastic wall thickness, internal ribs, screws, gasket compression, and bracket material all affect the real gap and alignment.
• Leave room for tuning
If this is an early product, design in some adjustment freedom. A slightly movable magnet pocket or alternate resistor option can save a board spin.
• Think about testability
Can you verify the trigger point in production? If not, you are gambling.
If you want a broader sensor comparison, The 6 Essential Sensors Every Engineer Must Know gives a useful system level view. If your board is already under DFM pressure, Embedded Systems in 2026: Core Components for DFM helps frame the bigger tradeoffs around component choice, sourcing risk, and layout decisions before the Hall sensor becomes just one more avoidable production headache.
Source the part like you expect shortages, because one day you will get them
You are not selecting a lab demo part. You are selecting a supply chain decision.
Check lifecycle status, package availability, second source risk, threshold spread, and whether the magnet spec is just as hard to source as the IC. A cheap Hall IC paired with a custom magnet can still become an expensive problem.
Also check whether your chosen device needs a tight threshold bin to avoid false triggers or misses. Low tolerance parts exist, but you pay for them.
Good practice is simple.
Pick at least two candidate sensors early. Test them with production intent magnets. Test at temperature. Test in the final enclosure. Test with tolerance extremes. Then choose.
That is slower than picking from a parametric table. It is also how you avoid warranty returns.
Conclusion
How to choose the right Hall effect sensor comes down to one rule.
Do not choose the sensor alone.
Choose the sensing system. That means the Hall IC, magnet, mechanical path, enclosure, PCB, sourcing plan, and production test method together. Hall sensors are excellent when the geometry is controlled and the trigger margin is real. They are frustrating when teams treat them like a generic drop in switch.
If your product only works with the perfect magnet at the perfect gap on the perfect prototype, you have not solved the design yet. You have just delayed the argument until pilot build.